Bring the beach home with this simple and affordable sea glass wall art how-to project. Whether you collect sea glass yourself or buy it online, you can create a stunning coastal décor piece (or other themes!) that looks high-end and no one will guess it was a DIY!
We may earn commission from affiliate links. Also, as an Amazon Associate we earn from qualifying purchases. We cherish your support!
This how-to can help you elevate your room for less!
Sea Glass wall art: Materials You’ll Need
- Sea glass (collected or store-bought) in various colors
- Shadow box frame with mat board backing [Amazon]
- Watercolor paper or heavy art paper
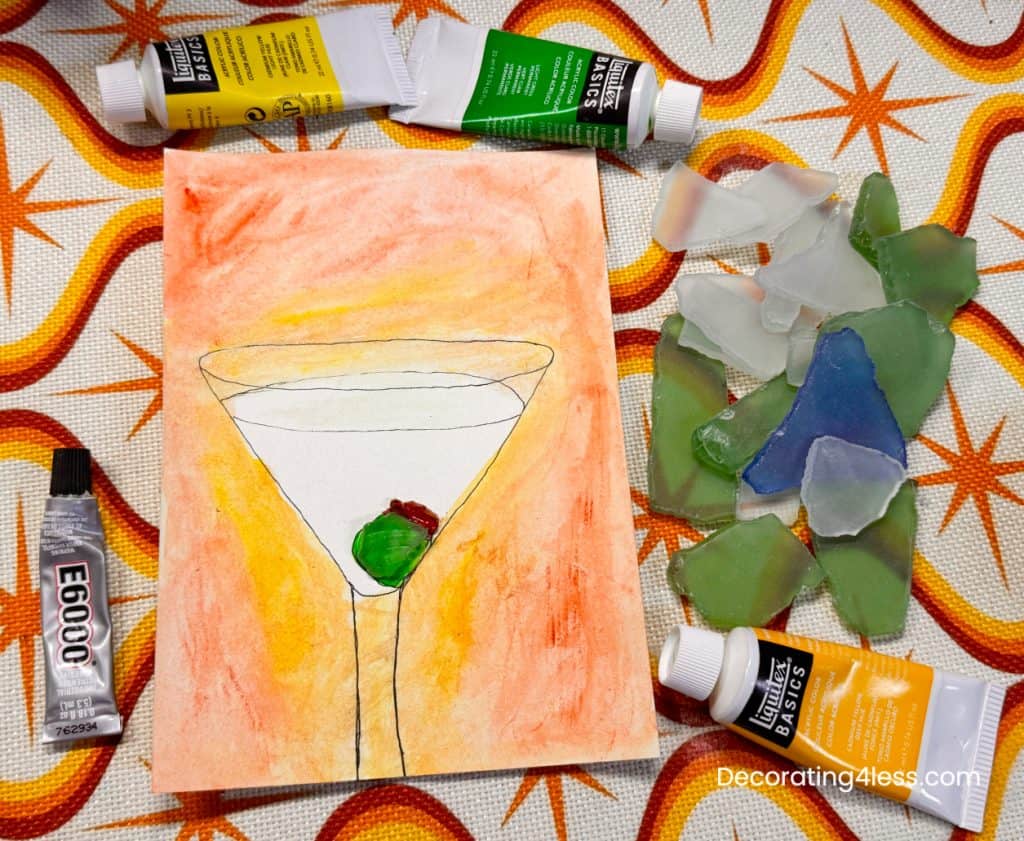
- Acrylic (we used Liquitex Basics from Amazon)or watercolor paints (sky blues, ocean greens, sandy neutrals, orange-red sunset colors)
- Brushes, pencil, and eraser
- E6000 or strong craft glue to adhere glass to base
- Optional: stencils or rubber stamps for shapes (starfish, shells, sea animals, hearts, etc.), wine corks or other items
Cost of this DIY Sea Glass wall art project: Under 25$!
📌We also have a Decorating for Less Walmart storefront collection with everything you will need for this project and more!
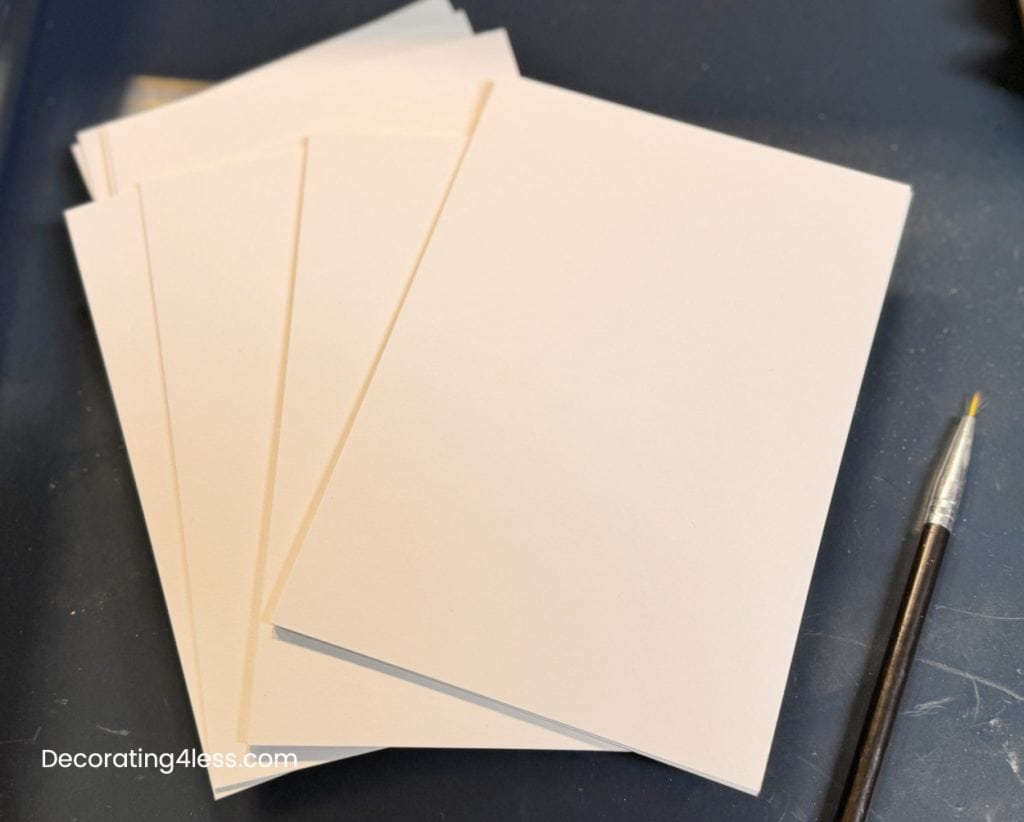
Step 1 – Prepare Your Frame & Backing
- Remove the mat board from the shadow box frame or purchase mat board separately in the size of the frame.
- Cover with watercolor paper (adhere with gel medium or acid-free glue) for a clean, paintable base and weight down while it is drying with a book or similar.
Step 2 – Sketch & Plan Your Sea Glass Art Design
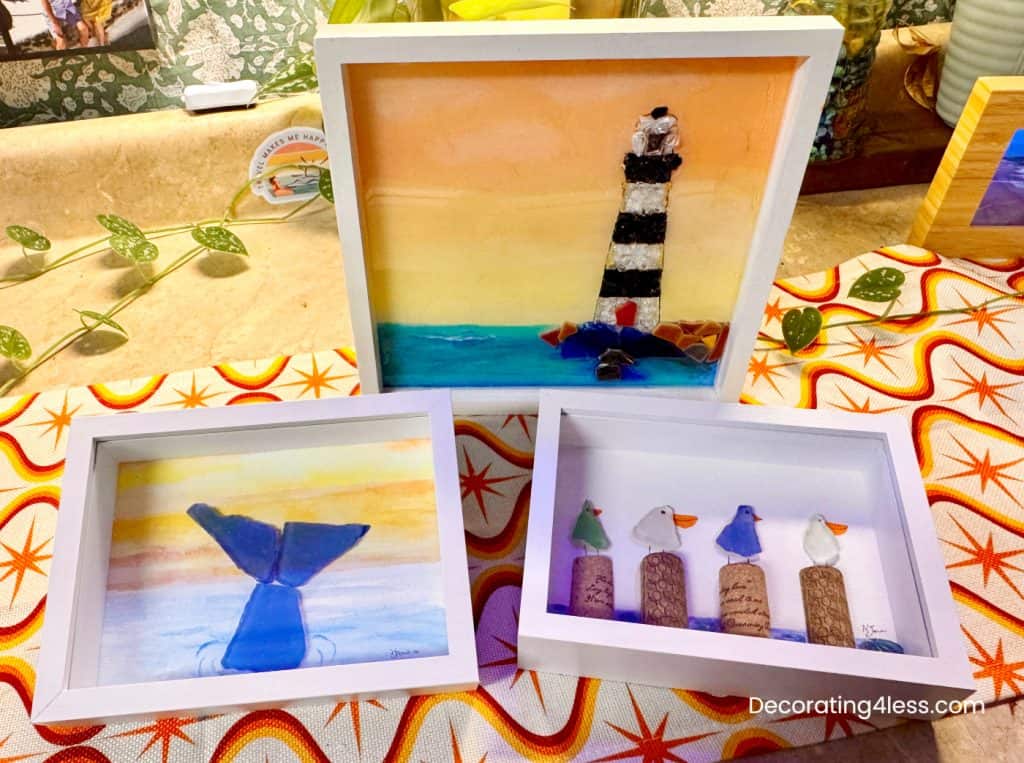
- Choose your design (animal silhouette, abstract wave, heart shape, whale tail, etc.)
- Lightly sketch it onto the paper (or stamp it/stencil it) to guide placement of sea glass
- You can also use other items in the design like wine corks (we used them in the bird one)
Step 3 – Paint the Background of the scene (optional)
- Use acrylic, watercolor, or gouache paints to create sky, water, or gradient backgrounds – or leave white it is your choice
- Allow to dry fully before moving on
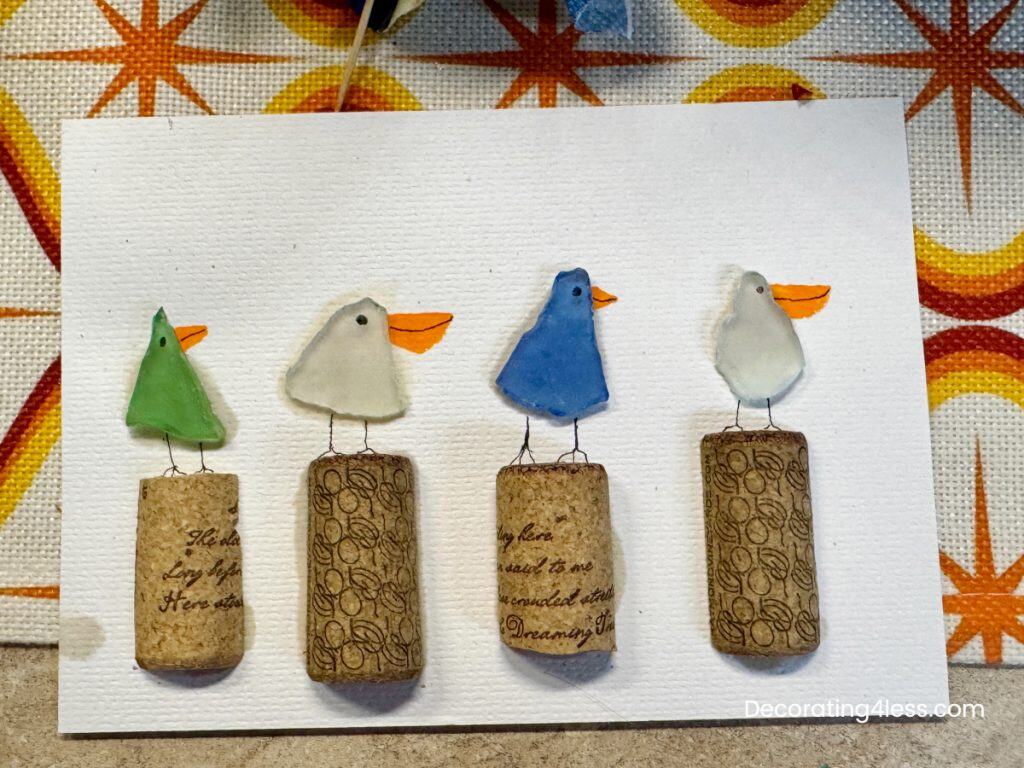
Step 4 – Adhere the Sea Glass Pieces
- Place sea glass pieces on your sketch before gluing to make sure you are happy with shape/placement
- Adjust until you like the look (color balance, size placement)
- Use E6000 adhesive or strong craft glue to adhere pieces securely
- Let dry several hours (overnight is best) before moving on
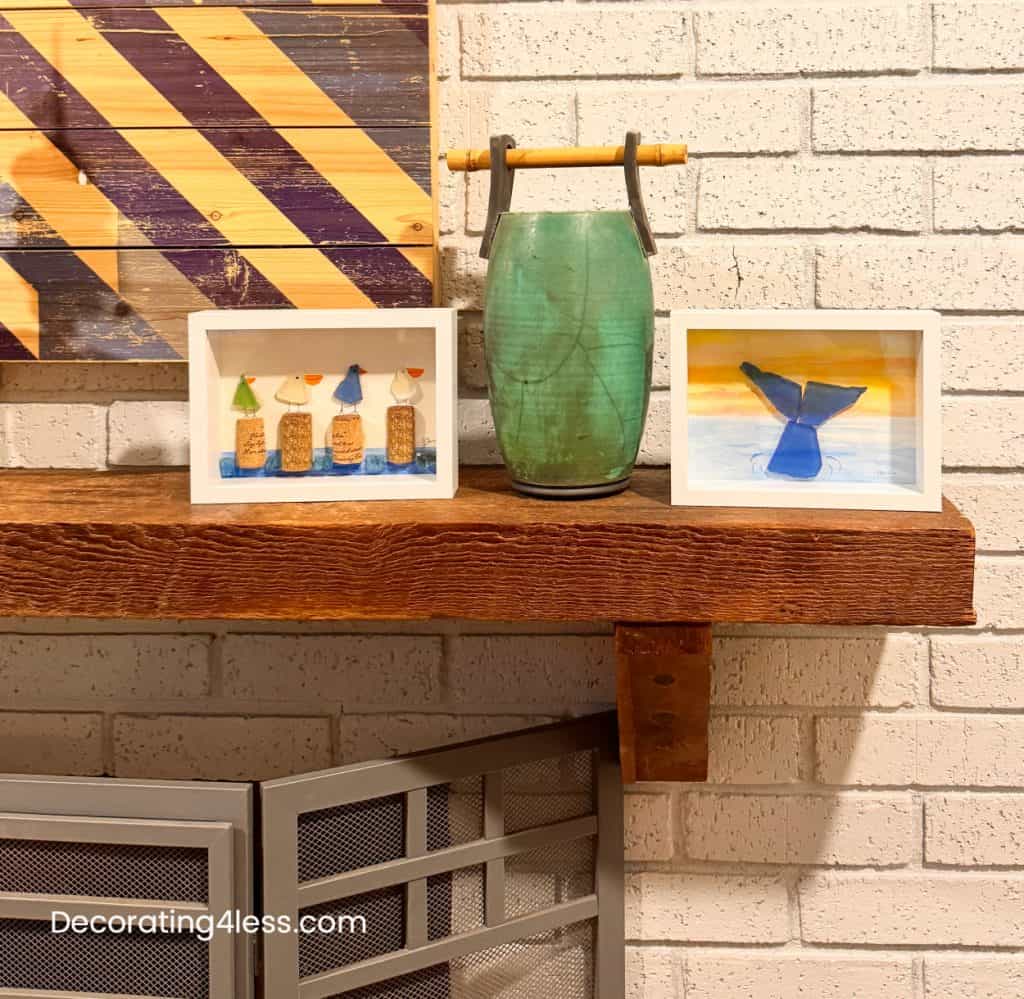
Step 5 – Frame Your Finished Sea Glass Wall Art
- Reassemble in the shadow box frame
- Display on a wall or shelf for instant coastal charm
Sea Glass Design Ideas for Inspiration
- Starfish, turtles, dolphins, or fish outlines
- Heart or circle shapes
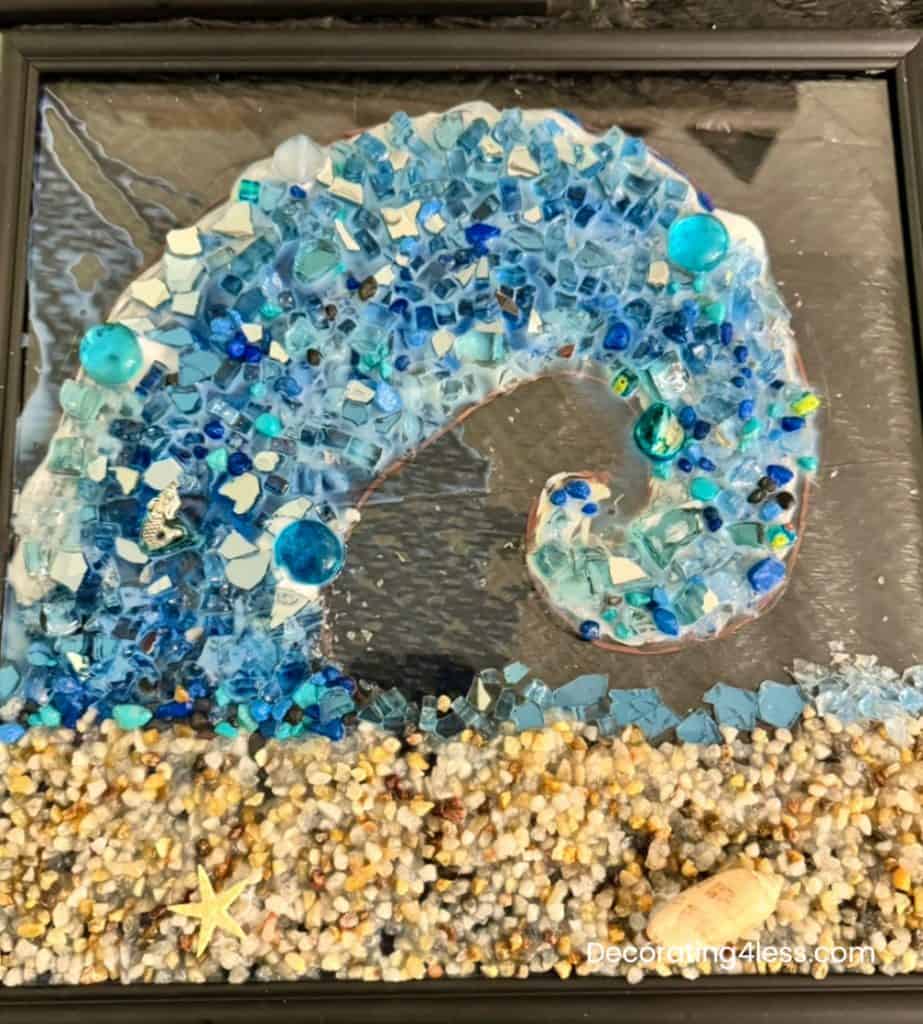
- Abstract wave, lighthouse, or sunset scenes
- Personalized initials or monograms
Other variations to try
- You can use glass (like the glass the frames come with) to make sea glass art too!
- We usually adhere the pieces onto the plain glass option with 2-part epoxy resin instead of the craft glue.
- The background (instead of painting it) can also be fabric or textured paper, sheet music, map, etc.
Shopping Resources for this Craft Project:
- 2-pack 5″x7″ White Shadow Box Frame Set [Amazon] They also come in different colors/sizes!
- We used thick 140 lb cold press watercolor paper [Amazon]to adhere to the mat board
- 15-piece acrylic or watercolor paint brush set [Amazon]
- 15 oz Frosted Sea Glass pieces green mix
- Liquitex Basics Acrylic Artist Paints – various colors
- E-6000 Strong Craft Glue [Amazon]
FAQs About DIY Seaglass Wall Art
Yes! Real sea glass has a unique charm, but you can purchase tumbled glass online or at craft stores that looks just as beautiful. It’s often more affordable and ensures you get a variety of colors and shapes.
A shadow box frame is ideal because it has depth to accommodate the thickness of sea glass pieces. This way your art looks polished and professional, not crowded.
E6000 is a strong craft adhesive that works well with glass and paper. It dries clear, is long-lasting, and keeps your seaglass securely in place (that’s what we used!).
It’s optional. If your art will be in a humid area (like a bathroom), you might lightly spray with a clear sealer to protect the paper background. Otherwise, framing in a shadow box keeps it safe and looking great.
Final Thoughts on our Sea Glass wall art project how-to:
With just a few supplies and a little creativity, you can make seaglass wall art that rivals expensive gallery pieces. Design small or go larger, it’s up to you! It’s the perfect budget-friendly project to bring coastal vibes into your home or give as a gift. We love seeing your finished projects email us pics here.
✨ Author’s Note
I’m Debbi, AKA Decodiva – a former art teacher who has always loved turning simple materials into beautiful home décor. DIY projects like this sea glass wall art are my favorite way to add style without overspending. I hope this guide inspires you to create something unique for your home that feels both personal and high-end!
You can find inspiration for sea glass projects on Pinterest too!
More DIY and Budget Decorating Inspiration:
- DIY Sea Glass Wall Art: Easy Coastal Décor How-to on a Budget
- Affordable DIY Wall Art Ideas That Elevate Any Room for Less
- Seasonal Decorating Guide: How to Refresh Your Home Each Season for Less
- Decorating Small Spaces on a Budget: Tips for Apartments & Condos
- 10 Budget-Friendly Living Room Makeover Ideas That Look Expensive